Blog, Furniture Tutorials, Inspiration
How to Instantly Elevate a Vintage Piece of Furniture
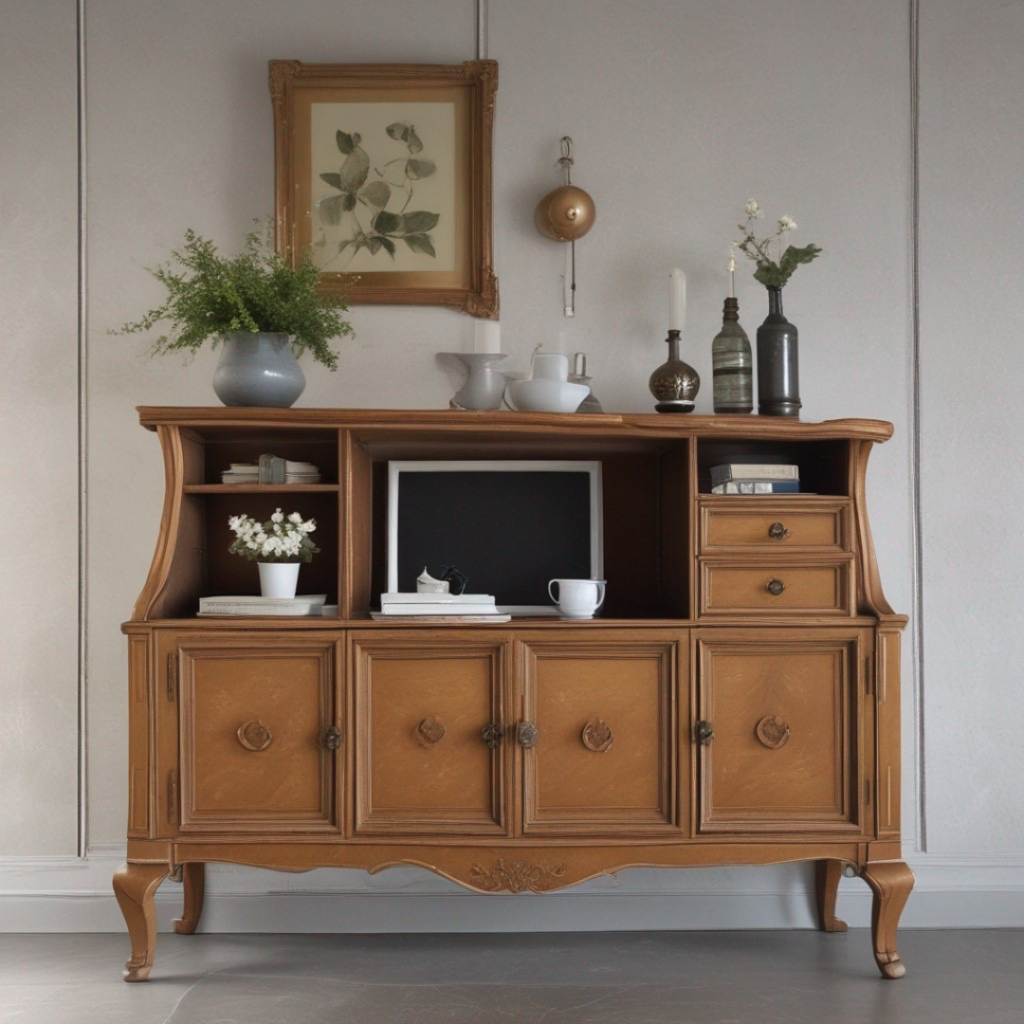
Transforming a vintage piece of furniture into a show-stopping centrepiece doesn’t have to be a daunting task. One of the most effective ways to breathe new life into an old treasure is by adding touches of gold. Whether you prefer the delicate application of gold leaf, the versatility of gold pen, or the precision of gold pen markers, there are several methods to elevate your vintage finds. Let’s dive into these techniques and get inspired!
Gold Leaf: A Touch of Luxurious Elegance
Gold leaf is an exquisite way to highlight the intricate details of a vintage piece. This thin, delicate material can be applied to carvings, edges, or any area you want to draw attention to.
- Prepare the Surface: Clean and sand the area where you’ll apply the gold leaf.
- Apply Adhesive: Use a special adhesive called gilding size. Apply it to the surface and wait until it becomes tacky.
- Lay the Gold Leaf: Carefully place the gold leaf onto the adhesive, using a soft brush to smooth it out and remove any excess.
- Seal the Gold Leaf: Once the gold leaf is applied, seal it with a clear varnish to protect it from wear and tear.
Top Tip: Use gold leaf on detailed carvings or along the edges of drawers and doors to create a striking contrast.
Gold Paint: Versatile and Vibrant
Gold paint is a fantastic option for those looking to add a bold statement or subtle sheen to their furniture. With a variety of shades like vintage gold, champagne gold, and even copper, you can choose the perfect hue to complement your space.
How to Apply Gold Paint:
- Choose Your Paint: Select a gold paint that matches your desired finish. Options range from high-gloss to matte.
- Prepare the Surface: Clean and lightly sand the furniture to ensure the paint adheres properly.
- Apply the Paint: Use a fine brush for detailed areas and a larger brush or roller for bigger surfaces. Apply thin, even coats, allowing each layer to dry before applying the next.
- Finish with a Sealant: To protect the paint, apply a clear sealant once the final coat is dry.
Top Tip: Highlight legs, drawer fronts, or knobs with gold paint to add a touch of glam without overwhelming the piece.
Gold Pen Markers: Precision and Control
For those who enjoy detailed work, gold pen markers offer precision and control. These markers come in various tip sizes, making them perfect for fine details and delicate accents.
How to Use Gold Pen Markers:
- Select Your Marker: Choose a marker with the appropriate tip size for your project.
- Clean the Surface: Ensure the area is clean and dry before application.
- Apply the Marker: Draw directly onto the furniture, using steady, even pressure. You can create patterns, and outlines, or fill in small areas.
- Seal the Design: Protect your work with a clear varnish to prevent smudging and wear.
Top Tip: Use gold pen markers to outline drawer handles, create intricate patterns on flat surfaces, or add subtle highlights to carvings.
BONUS INSPIRATION
Revitalising Hardware: The Final Touch
Don’t forget the hardware! If your vintage furniture has brass or metal hardware that’s lost its lustre, give it a new life with a touch of gold.
Options for Revitilising Hardware:
- Rub and Buff: This wax metallic finish can be applied with a finger or a cloth, offering a quick and easy way to restore shine.
- Gold Pen Markers: These work wonders on hardware, providing precision and a durable finish.
- Gilding Wax: Similar to Rub and Buff, gilding wax adds a rich metallic sheen and is easy to apply.
Top Tip: For a cohesive look, match the finish on the hardware to the gold accents on the furniture.
Final Thoughts
Adding gold to your vintage furniture can instantly elevate its charm and sophistication. Whether you choose the luxurious application of gold leaf or the precision of gold pen markers, each method offers a unique way to enhance your piece. Remember, the key to a harmonious look is to balance your gold accents with the overall design of your furniture and space. So go ahead, get creative, and let your furniture shine!

